 |
| "Yarnie" Making Fun!
|
By Steve Watson
Yarn eggs, also known as yarn balls or affectionately referred to as "yarnies," are simple and inexpensive to make at home. Designing, shaping, and tying them yourself can also be a fun diversion to keep the youngsters busy on dreary winter evening while they spend time with good ol' dad.
Yarn balls have earned a well-deserved reputation as one of the most consistently deadly steelhead lures out there. They are a particularly effective offering for drift-fishing from the bank and side-drifting from a boat. Yarnies offer several advantages over other baits such as fresh roe:
- Less mess. No cleaning sticky salmon egg juice and smelly roe goo off your fingers.
- More durable. Yarnies are very resilient and can be reused repeatedly. Less time re-baiting your hook means more time with your line in the water actually catching fish.
- Yarnies are more-or-less neutrally buoyant which enables them to drift along with the current in a more natural fashion.
- They are soft, feel natural, and the yarn's fiber tends to catch in a steelhead's teeth (which actually have tiny little barbs at the end) when they chomp down on your offering. This makes it difficult for the fish to easily spit out your bait or lure, affording the angler an extra moment to set their hook.
- Yarn balls add attractive color, texture and visibility to your offering.
- Yarn has a sponge-like quality that easily soaks up and retains any scents (such as Pautzke's Nectar, Mike's Lunker Lotion, or Pro Cure Salmon Egg gel) you might wish to add as an extra attractant.
- They are very versatile and can be added to other baits and lures (such as fresh roe, a corky, or Spin-N-Glo).
Yarnies can be made in practically any size and color combination you desire. When targeting the anadramous missiles commonly known as steelhead, various shades of pink and orange are go-to colors with maybe some white, chartreuse, peach, or red added into the mix. One should experiment with various size and color combinations to find what works based on the unique conditions of your local rivers and the changing moods of the fish.
My 10-year-old son, Aidan, and I both caught big "steelies" this year on Humboldt County's Mad River using yarnies (that we tied ourselves) after drifting roe failed. This experience made a believer in handcrafted yarn balls out of me.
Okay, now that I've convinced you to give yarnies a try, let go through our required materials list followed by a simple step-by-step method for making them.
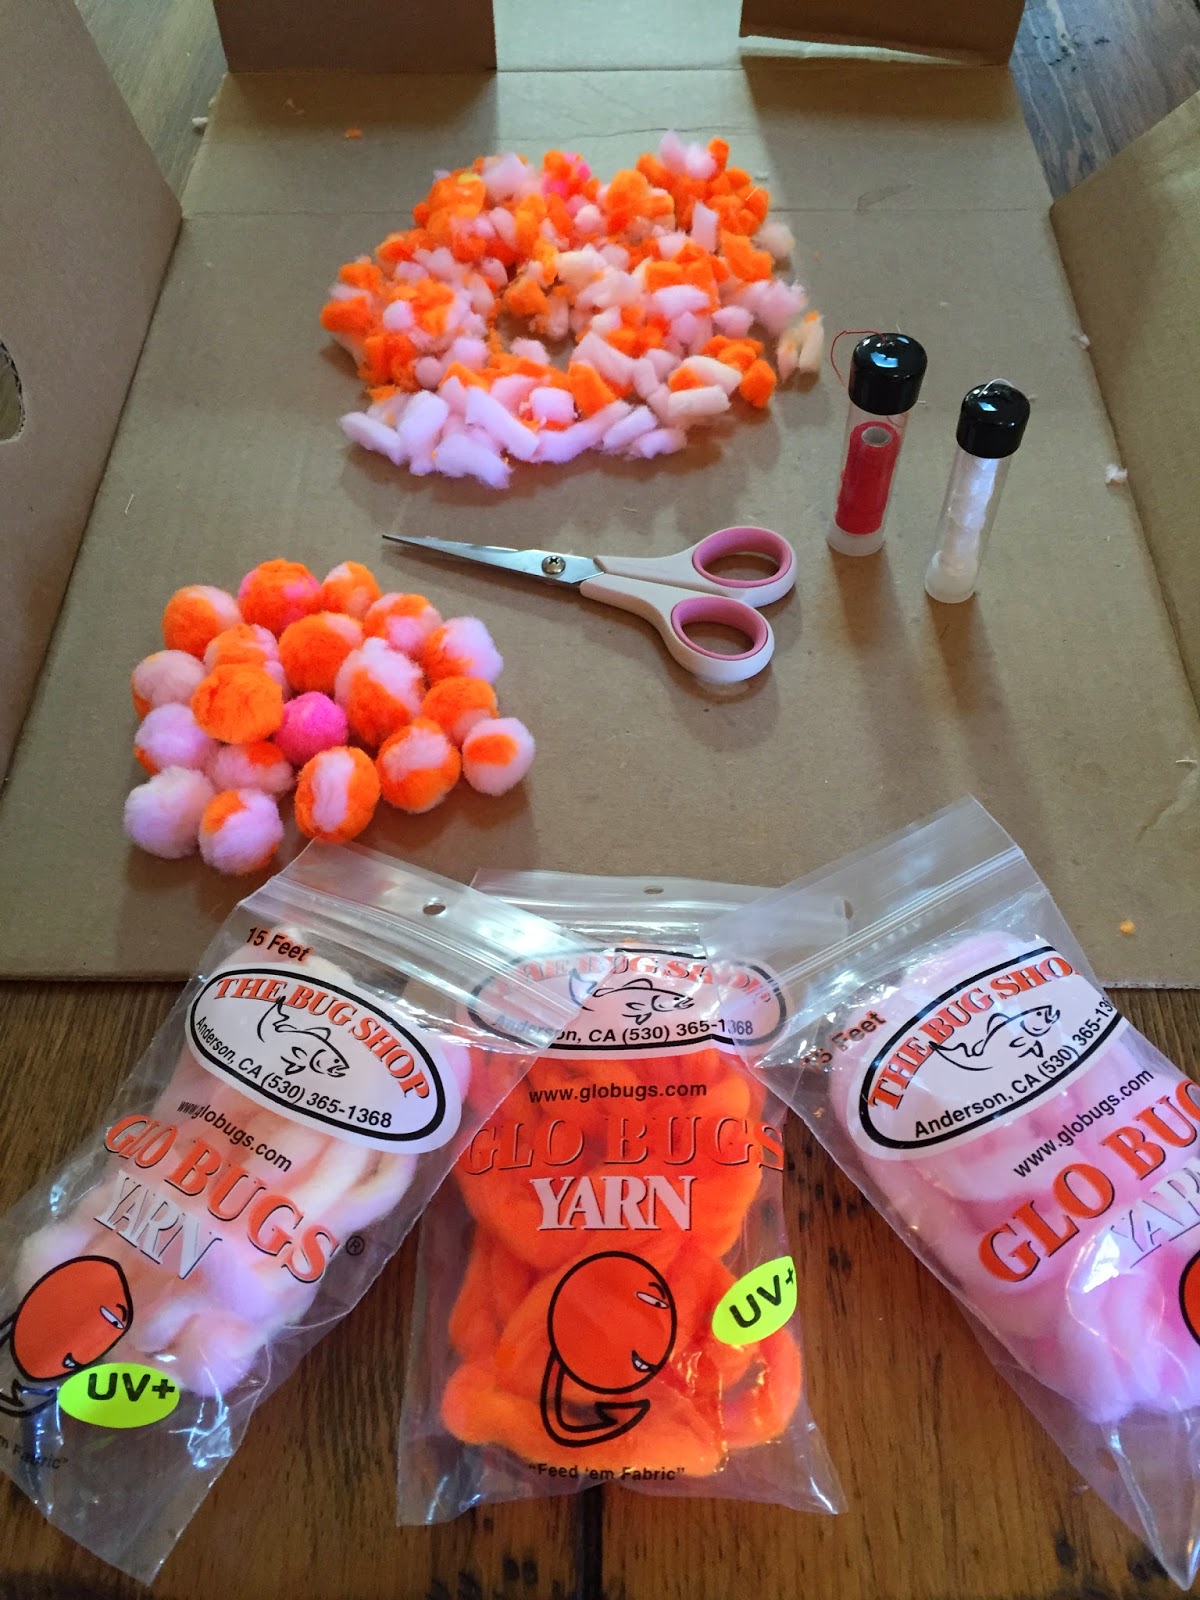
Materials and Supplies
Yarn
The two yarn manufacturers whose products are most commonly found in my local shops are Glo Bug Yarn (by the Anderson, CA-based Bug Shop) and Steelhead Stalkers. Both produce UV fishing yarn in multiple colors. While similar, Steelhead Stalkers' yarn is thicker and fluffier than the Glo Bug offering requiring less strands to fashion a yarn ball. While they can be intermixed, I'd choose a brand to start with and purchase several packages of their yarn in different colors such as pink, orange, and white.
Thread
Grab a roll of Atlas Mike's Miracle Thread, which is elastic, adheres to itself, and doesn't require knotting.
Scissors
You'll need a pair of sharp, compact scissors suitable for trimming yarn.
Tubing
Though not necessary, a short piece of 3/8" PEX (or similar) tubing can help make the process easier. (To use this tool, lay out five or so strands of Glo Bug yarn in your desired color combination. Insert a doubled-over length of heavier test fishing line through the tube, grab the head of your yarn cluster in the loop, and pull the strands back through the opposite end of the tubing. This extra step helps you to keep all the ends of the yarn strands more even and minimize wasted material).
Tying a Yarn Ball
Start by selecting your yarn color combination, then cut off 5-6 strands 1 to 2 inches long. The strands should all be the same length. If using Steelhead Stalkers' yarn, only 2-3 strands are necessary as it is much thicker than the Glo Bug product.
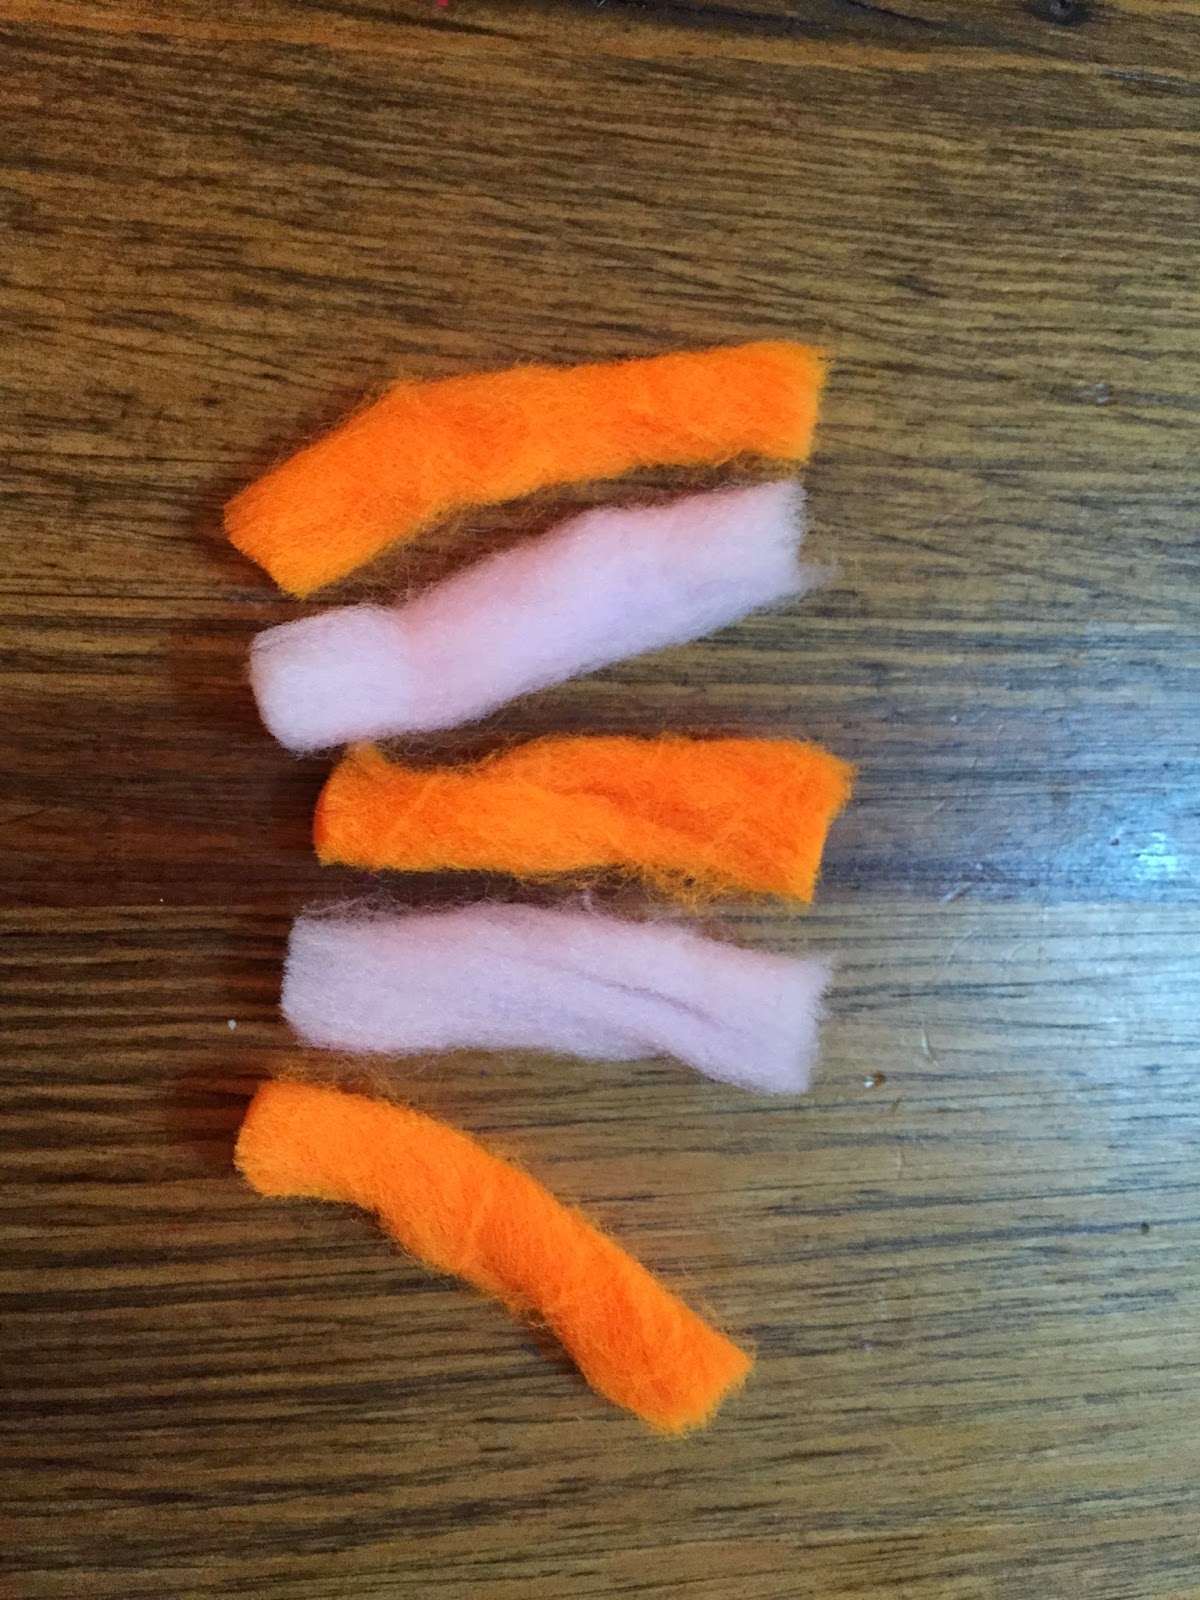 |
| Cut 5-6 short strands of equal length. |
After cutting your yarn sections, stack them together and even up the ends. Next, pinch the yarn stack together between your thumb and forefinger. Take your Miracle Thread dispenser and make 10 very tight overlapping wraps around the middle of the yarn. Break the tag end off.

 |
| Your yarn strands should now look like this. |
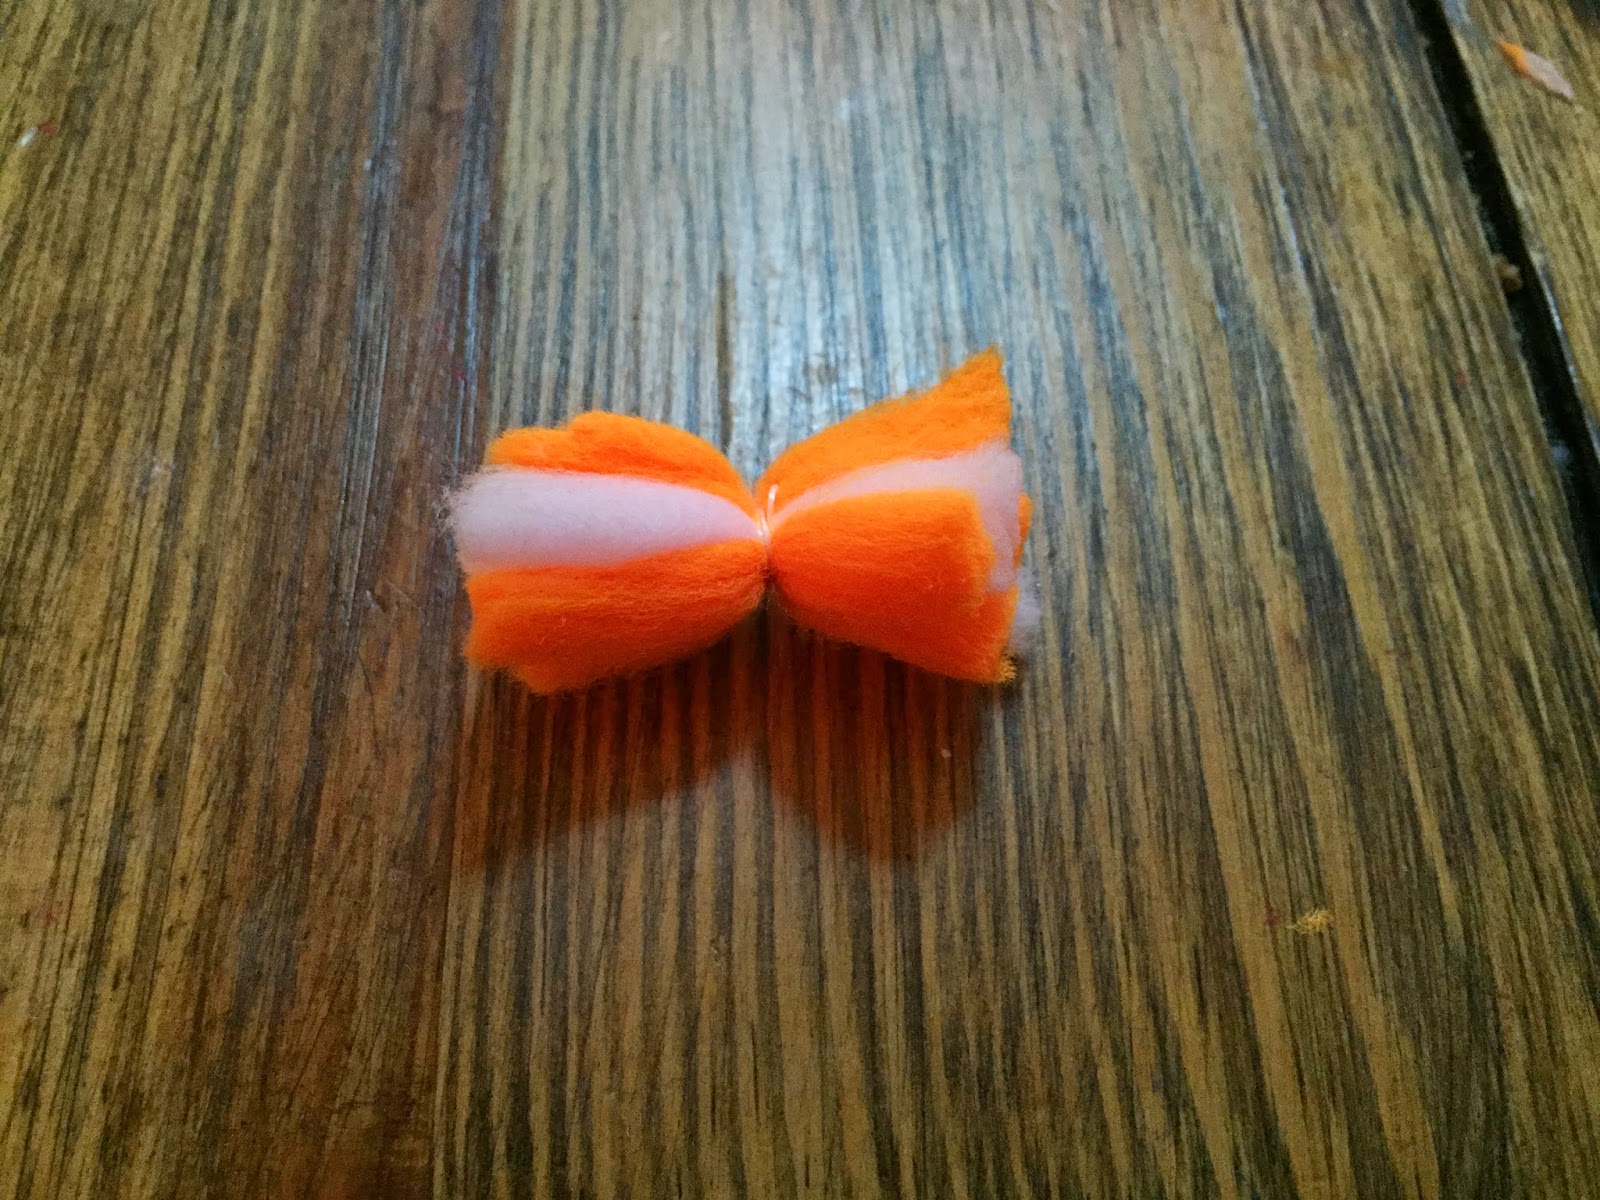
Fold the stack of strands in half so that the 10 ends are together. Pinch the doubled-over strands tightly between your thumb and finger at the bend and make sure the tips are aligned. Now, using your thumb as a rough guide, trim the exposed ends in a half-circle.

 |
| A "2D" Yarnie--we're almost there! |
 |
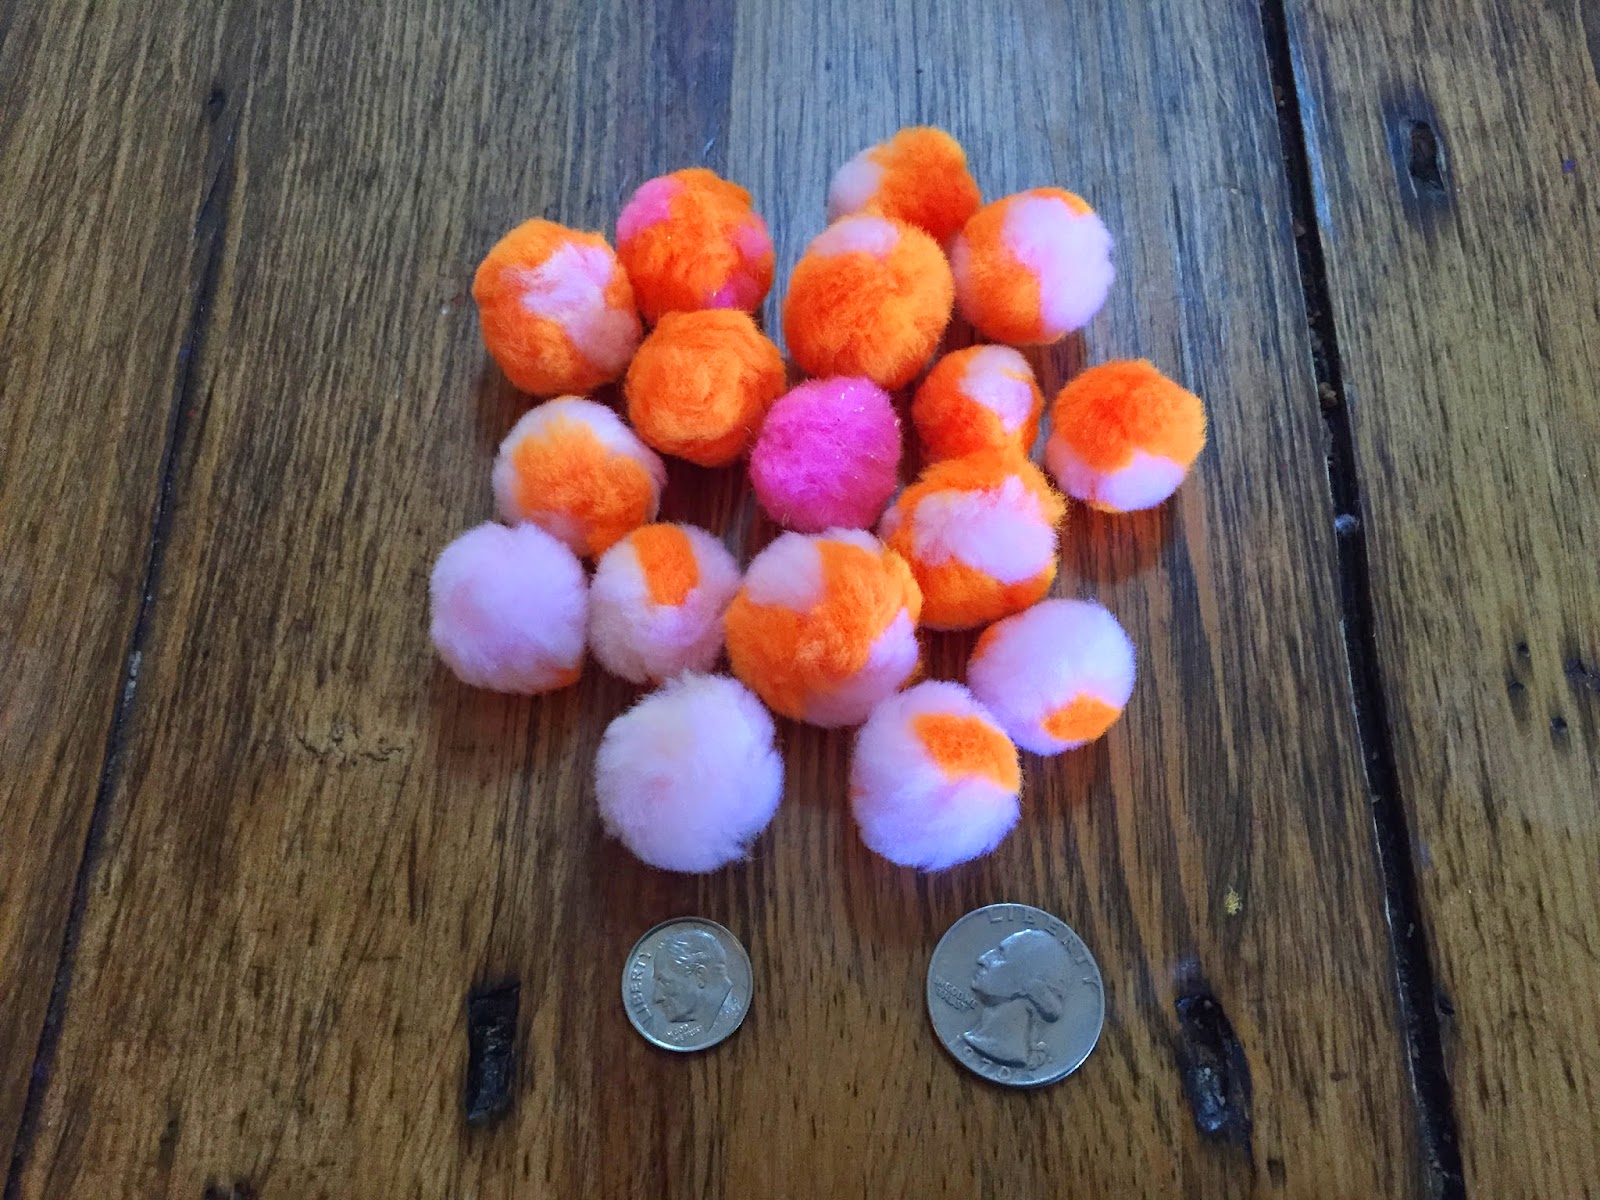
| A completed "yarnie!" |
Drift Fishing Set-up
By drifting or bouncing your new yarn egg approximately 1-2 feet off the river bottom, you are presenting a very attractive offering right in a "steelie's" face. A yarnie drift fishing rig might be set up like this:
- Slide a snap swivel over the end of your 10-15 pound test main line then tie on a barrel swivel.
- Attach one end of a 16" - 4' long (depending on water conditions) eight-pound test leader to the barrel swivel. Tie a #2 (high/big water) to #4 (small water/clear conditions) hook with a bait loop to the end of your leader. Remember to follow your local fishing regulations which may require a barbless hook for some species in certain waterways.
- Attach a "slinky" weight to the small snap-swivel. The size of your weight will depend on the water and current conditions. The key consideration is for your weight to bounce or skip along the river bottom with the current flow so that your bait is presented naturally and at the proper depth.
- Slide your yarnie onto the hook through its center and snug it up to the hook eye. Put a fish pill on the hook behind the yarnie to help it float off the bottom. Alternately, slide a corky or Spin-N-Glo onto the leader above the hook. When not adding roe or shrimp to the offering, I also like to tighten the bait loop around the yarn ball to help keep it in place. Some anglers prefer to slide their yarnie onto the leader before the hook using a worm threader tool, then add a fish pill onto the hook just below the eye for extra buoyancy.
- Cast at about a 45-degree angle upstream and let the yarnie drift naturally downstream past your location. "Seams" in the river are a good place to start, as well as holding waters just above or to the side of stretches of very fast water (chutes). Holding water is generally 3-6 feet deep and flows about as fast as your normal walking speed.
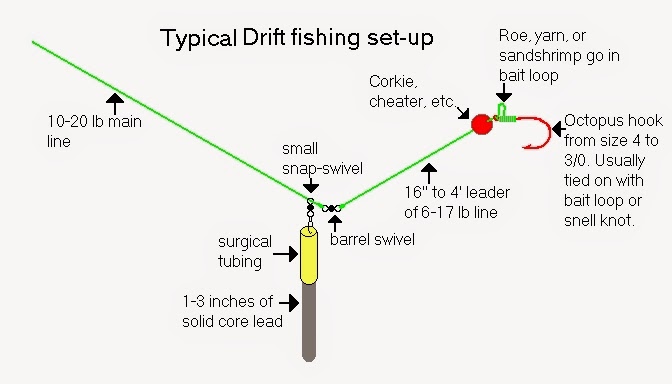 |
| Image courtesy of http://www.steelheader.net/steelhead/driftfishing.htm |